Create and Publish Your First Poll in WordPress with Pollify
Once you’ve installed Pollify, creating your first poll is simple and intuitive. Whether you want to collect opinions, run a quiz, or gather quick feedback, this guide shows you how to launch your first poll using the Gutenberg editor in just a few clicks.
Add a Poll Block Inside Any Post or Page #
- Go to your WordPress dashboard.
- Open an existing post/page or create a new one.
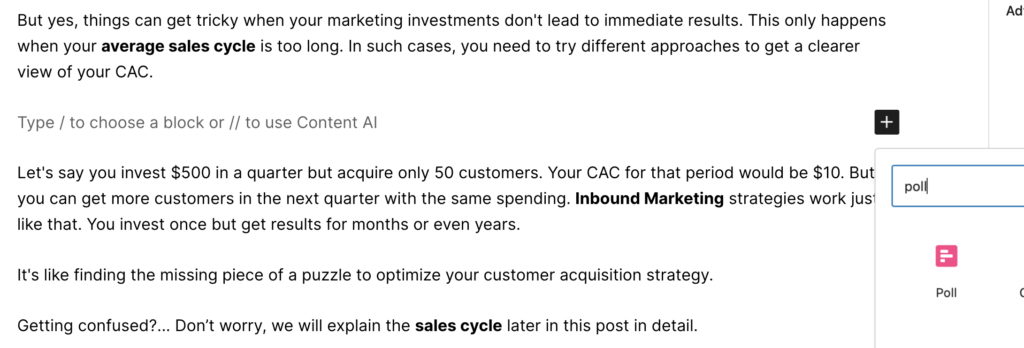
- Click the + Add Block icon in the Gutenberg editor.
- Search for Poll and select the Pollify block.
Check the screenshot below-
The poll block will now appear inside your content area, ready for customization. Here’s the video tutorial–
Add Your Poll Title and Options #
Inside the block:
- Enter a title for your poll (e.g., “What features do you want next?”)
- Add a description if you’d like to give your audience some context.
- Create your options — you can add as many choices as you need.
- Customize the vote button text (default: “Vote”) to match your tone or language.
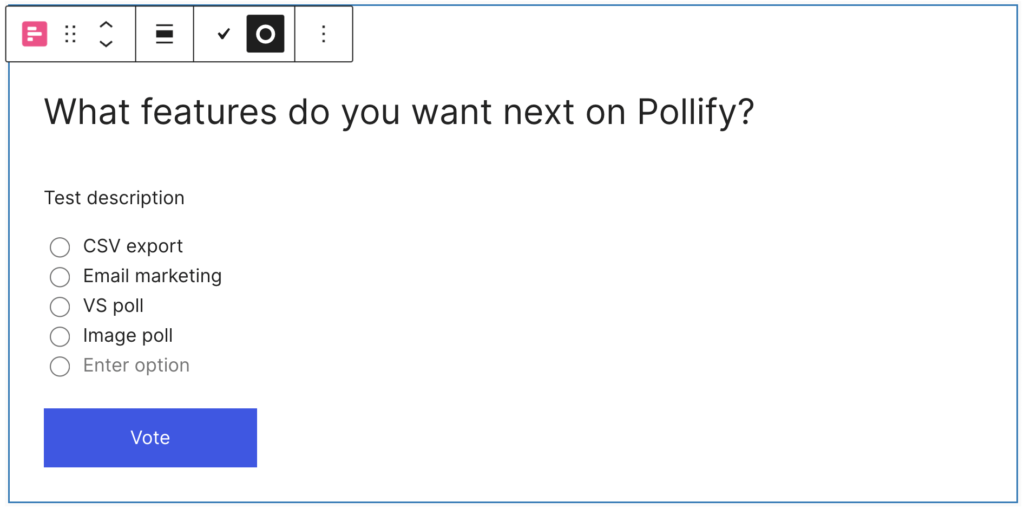
All changes appear live in the editor, giving you full control without switching tabs or windows.
Set Up Poll Behavior from Sidebar Settings #
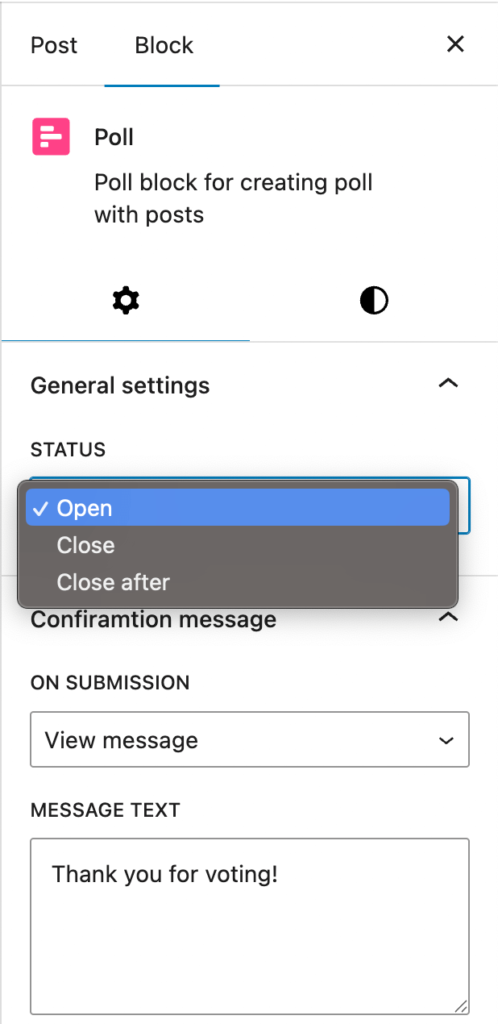
With the poll block selected, check the right-hand sidebar for advanced options:
Control Poll Status
Choose how and when users can vote:
- Open – Accepts new responses
- Closed – Disables voting completely
- Close After – Lets you schedule a closing time
Show or Hide the Poll After Voting
Decide what users see once the poll ends:
- Show the final results
- Show a custom message
- Hide the poll entirely
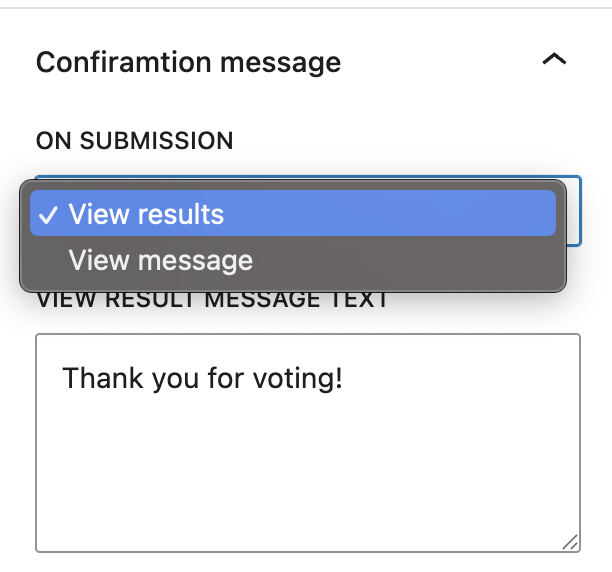
Confirmation Message
Set how you want to thank or guide users after they vote:
- Show a simple confirmation message
- Show poll results directly
Allow Single or Multiple Responses #
Pollify gives you control over how users can vote:
- Single Choice: Users select only one option
- Multiple Choice: Allow them to choose more than one
- Restrict voting by IP or user ID to prevent spam or duplicates
Customize Your Poll’s Look and Feel #
Without touching a single line of code, you can style the poll to match your site:
- Adjust colors, padding, and borders
- Change the submit button style, width, and alignment
- Add a poll closing banner to display when the poll ends

Pollify’s design system naturally inherits your theme styles, so everything looks consistent from the start.
Publish Your Poll #
Once you’re happy with the setup:
- Preview the page to see how the poll looks.
- Hit Publish or Update on your page/post.
- Done- your poll is live and collecting feedback!
Tip: Use Polls to Keep Visitors Engaged #
Adding a poll inside your blog posts, product pages, or even your homepage is a proven way to increase time on site and encourage user interaction.
Want to see how your polls are performing? Head to the Pollify dashboard to view real-time analytics, locations, vote counts, and more.
Why Pollify Beats Crowdsignal for Everyday Polling #
With Crowdsignal, you need to manage your polls from an external dashboard and deal with embed codes. That’s extra work and breaks your editorial flow.
Pollify eliminates that friction:
- No switching tabs
- No third-party dependencies
- Just a fast, smooth Gutenberg-native experience
If you’re building a WordPress-first site, Pollify is the better match for you.
Explore more about Pollify:
🔗 Pollify Features
💰 Pollify Pricing
📩 Contact Us


